How to add multiple images to a website using Gallery?
What you'll learn
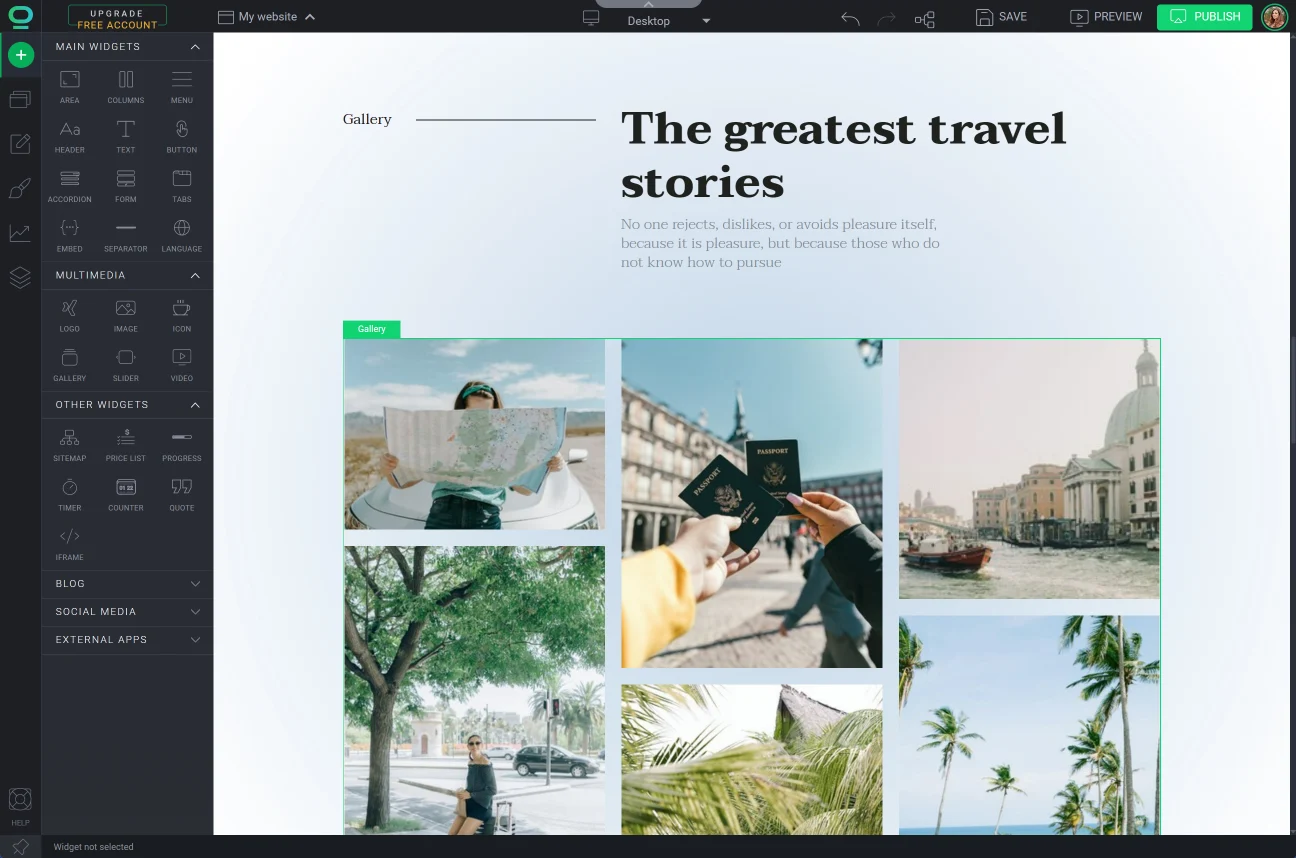
What Gallery could look like on your website.
How to add a Gallery to your website?
Gallery - Widget Settings
How to manage multimedia in the Gallery?
Adding a gallery to your website can be an effective way to showcase your products or services. By displaying your content in a visually appealing and interactive way, you can keep your visitors engaged and increase the chances of them staying on your site longer.
Learning how to add a gallery to your website is not only a useful skill for web developers and designers, but it can also help you to enhance the user experience and drive more traffic to your site.
What Gallery could look like on your website.


How to add a Gallery to your website?
1
Open your site in the BOWWE Builder.
2
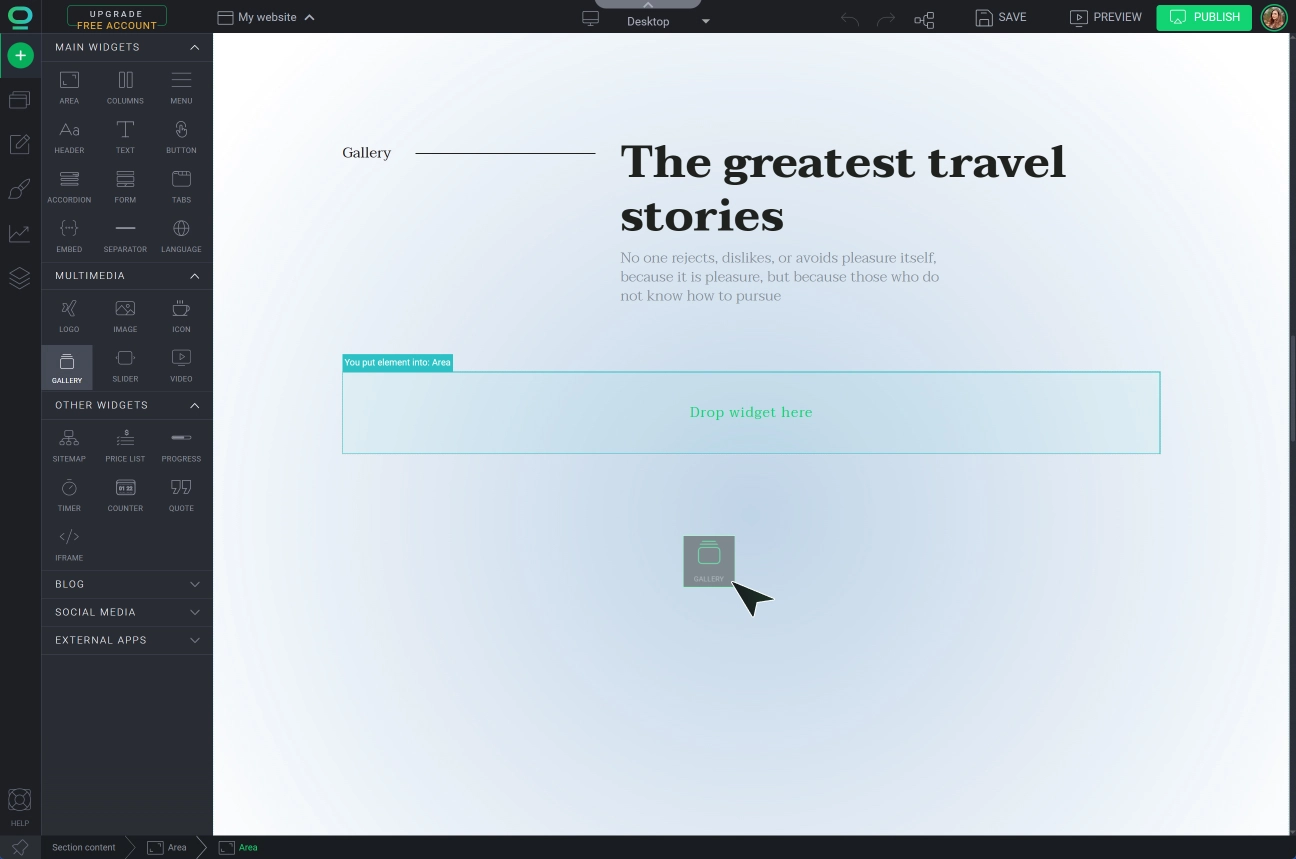
From the left side panel select the green + button and expand the MULTIMEDIA tab to select the GALLERY widget.
3
Drag the widget and drop it wherever you want on the page.
4
Click on the green “Widget Settings” button that appears above the Gallery to configure the widget.
5
Replace the images and adjust the widget appearance.
6
Click Save to complete.
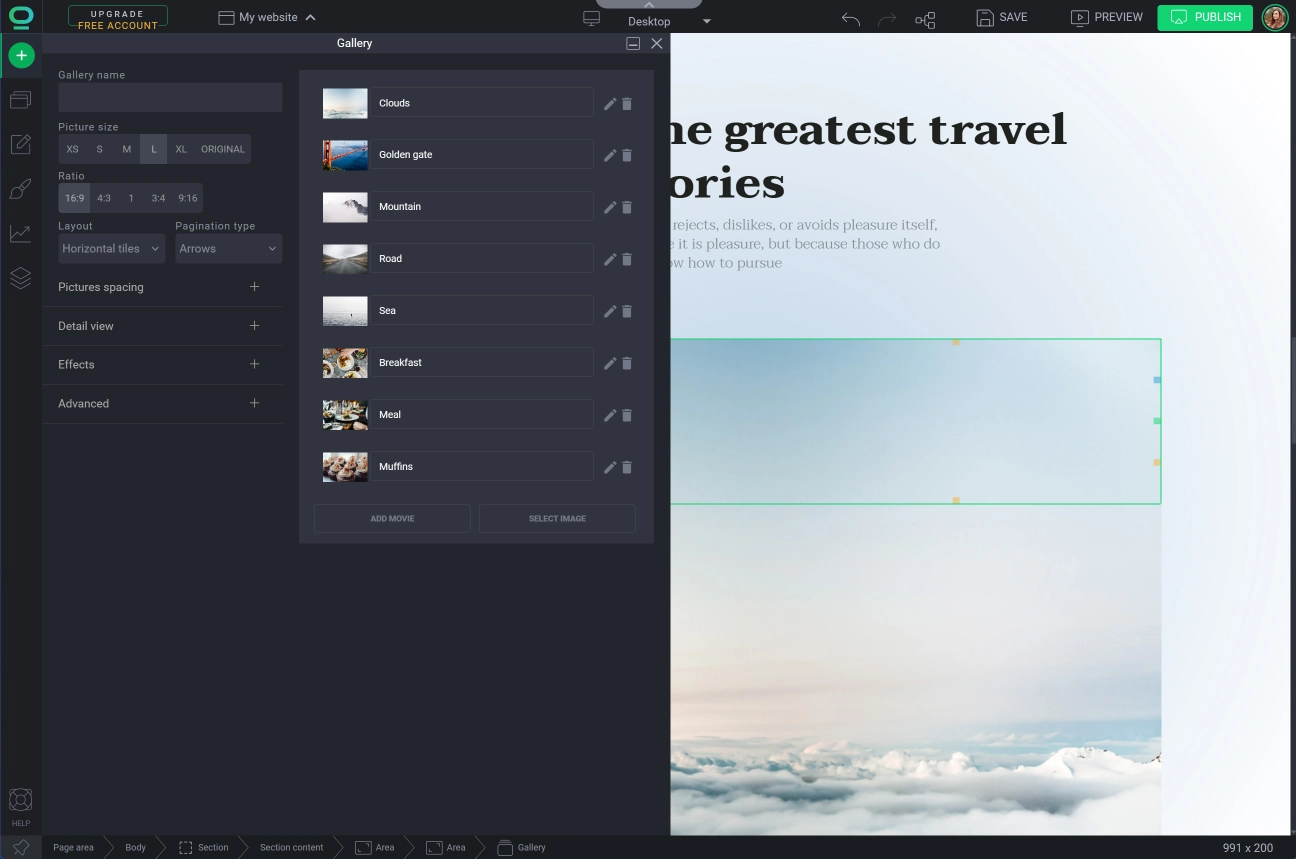
Gallery - Widget Settings
When you drop a gallery, you will automatically see the Settings panel. Here you can configure the following parameters:
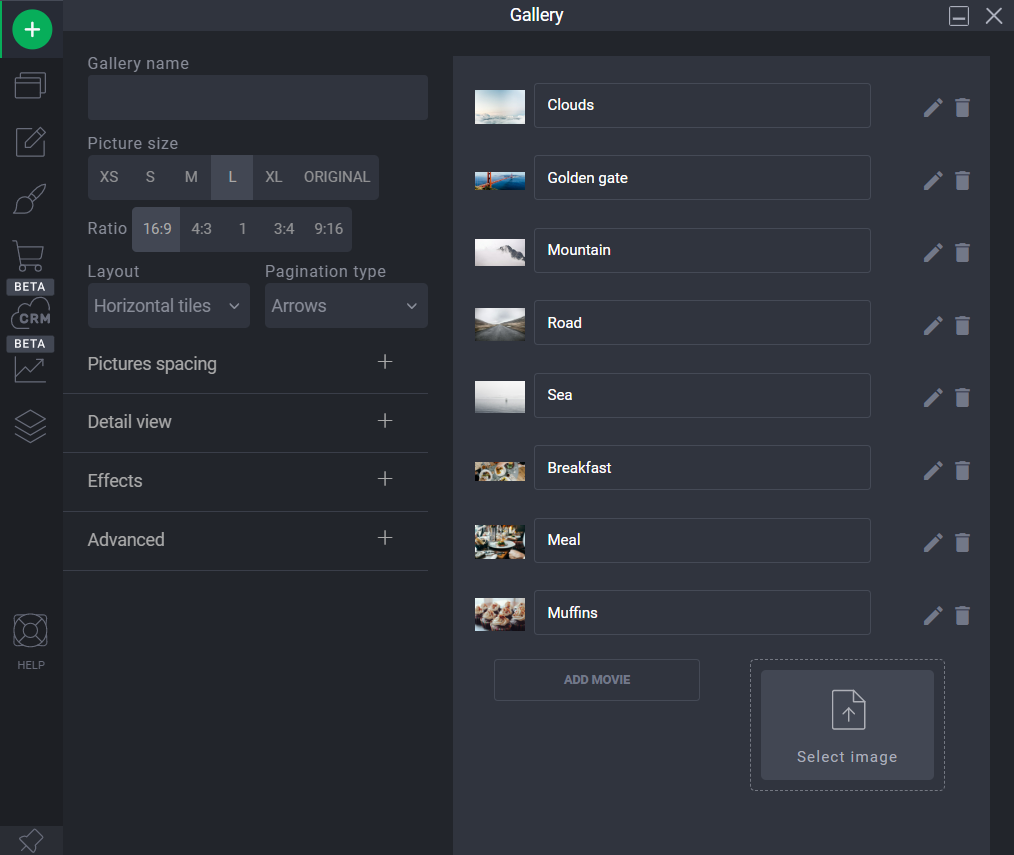
- Gallery name - For your internal use. Not visible to users.
- Picture size - Matches appropriate thumbnail sizes to all images in the Gallery. The better the match between the displayed image and the actual image size, the better the thumbnail’s quality.
- Ratio - Determines the aspect ratio of your images.
- Layout - gives a consistent layout to all images in your Gallery.
- Pagination type - determines how to switch between next images when all of them cannot be displayed on the screen at the same time.
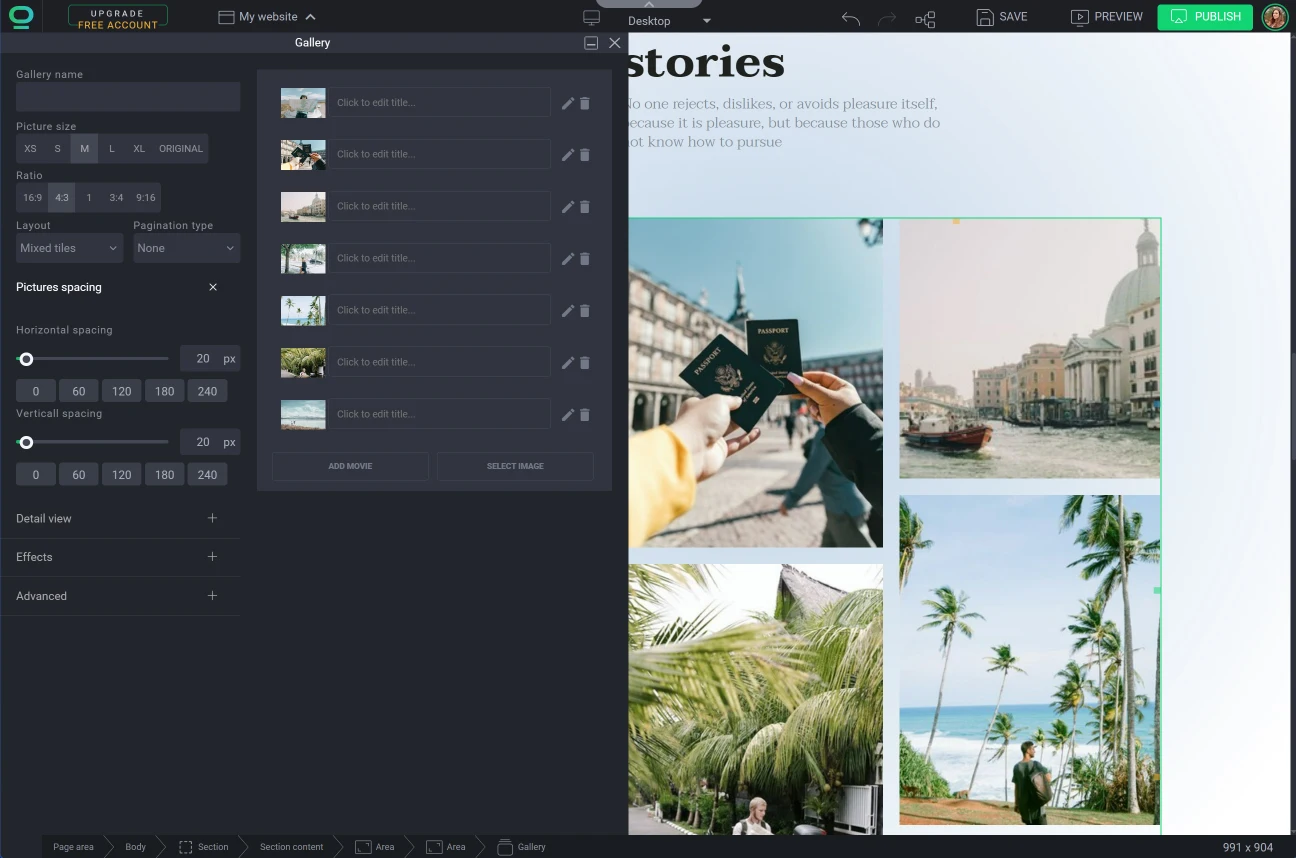
- Pictures spacing - specifies the size of the spacing between images in your Gallery, both vertically and horizontally.
- Detail view - specifies how you want the images to appear when you click on them.
- Gallery details - compact shows the whole photo which can be zoomed in and wide fills the whole width
- Show thumbs option - shows thumbnails on the slider, under the photos, inside the pop-up
- Gallery descriptions - displays a mask with a description attached to the photo. You can select it to display always, only when hovering the mouse, or never.
- Effects - adds filters to the displayed multimedia
- Advanced - allows you to add custom code to manage the widget.
How to add images to the Gallery?
- Add images using the Select image button.
- Create a description to the images using the pen icon.
- Remove images from the gallery using the trash can icon.
- Add a video by clicking the ADD MOVIE button.
Remember about:
You can upload videos no larger than 50 MB to the Gallery. Also, keep in mind that putting a lot of heavy files in the Gallery may reduce its loading speed.

Congratulations!
Now you know how to add multiple images to a page using a Gallery!