Widget Styles - how to edit elements in BOWWE?
How to open Widget Styles in BOWWE?
What widget styles consist of?
Style tab - modify and create effects
Font tab - edit text on a website
Position tab - change the size and location of elements
Animations tab - add animation to a website
In BOWWE you can use Widget Styles to style all the elements of your website. In this tutorial, you will learn all the necessary functions of widget styling.

How to open the Widget Styles in BOWWE Builder?
- Open the design of your website in BOWWE
- Double-click the widget you want to edit
- Click the icon
Widget Styles

- Now you can edit the selected widget
What Widget Styles consist of?
Widget styles consist of four tabs. These are:
- Style
- Font
- Position
- Animations
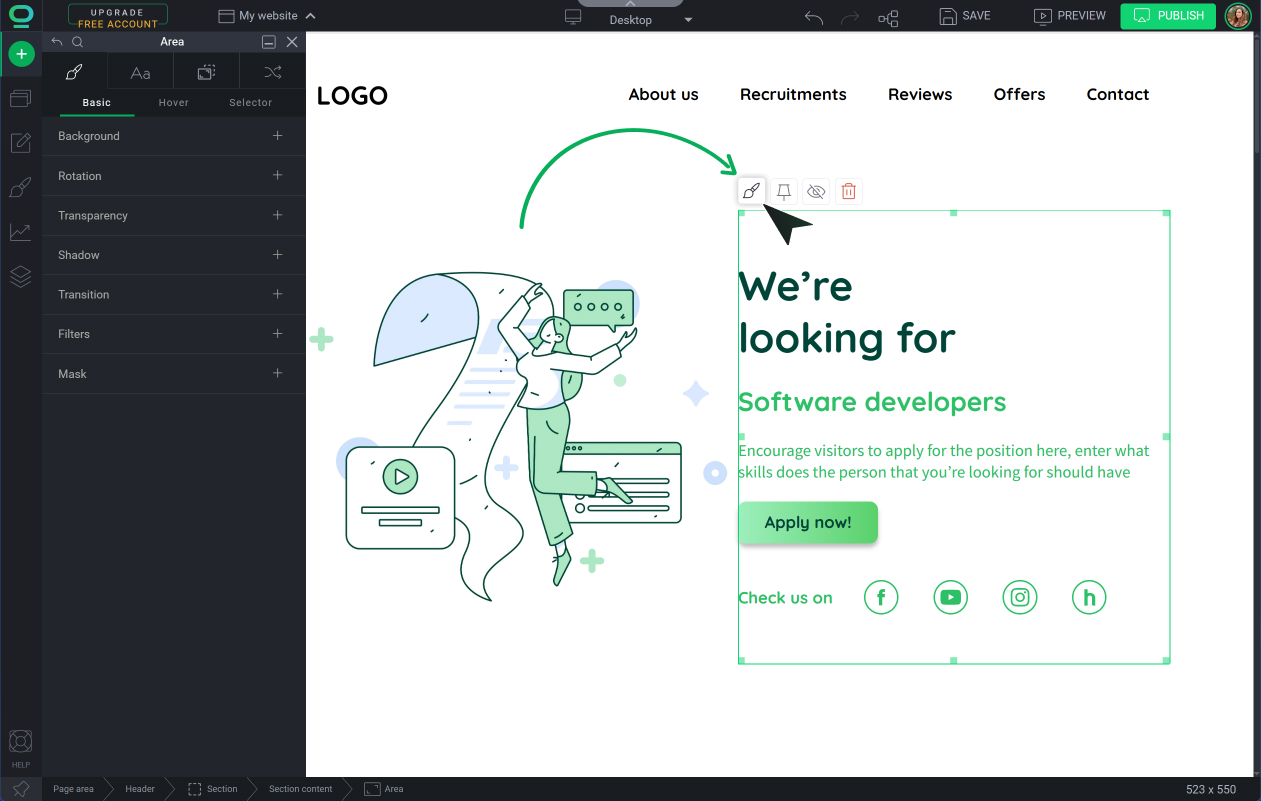
Basic - changes made in the Basic tab apply to the default view of the element
Hover - allows you to add changes that will appear when the user interacts with the element by hovering a mouse over it
Selector - lets you target specific HTML elements and apply CSS styles to them - you’ll learn more about it in our next tutorials
You can check the essential functions and settings of each category below.
They contain almost all the possibilities for editing the widget and each of them is divided into 3 tabs:
Style tab
Background
Color
Check this option to unlock the ability to choose a background color
Choose color
Let you choose a specific background-color
Choose an icon
Let you choose a picture or graphic to be displayed in the background
Gradient
Lets you select the colors that are included in the background gradient
Effects
Rotation
Rotates the element the specified number of degrees °
Disable shadows
Disables the ability to add shading to an element
Add shadow
Adds shading to an element
Outer/Inner
Select the outer or inner shading of the element
Color
Choose the color of the shading (usually black looks best)
Shadow rotation
Choose the angle at which you want the shadow to fall
Distance
Choose the distance of the item from its shading
Blur
Blurs shading
Spread
Sets the amount of shading
Font tab
Font
Size
Choose the size of the font
Color
Choose a color and % of the font fill
Family
Choose a font
Weight
Choose a font bolding
Text align
Select the text alignment
Line height
Choose the amount of leading
Letter spacing
Sets the spacing between elements
Transform
Specifies lowercase and uppercase in the text
Position tab - change the size and location of elements
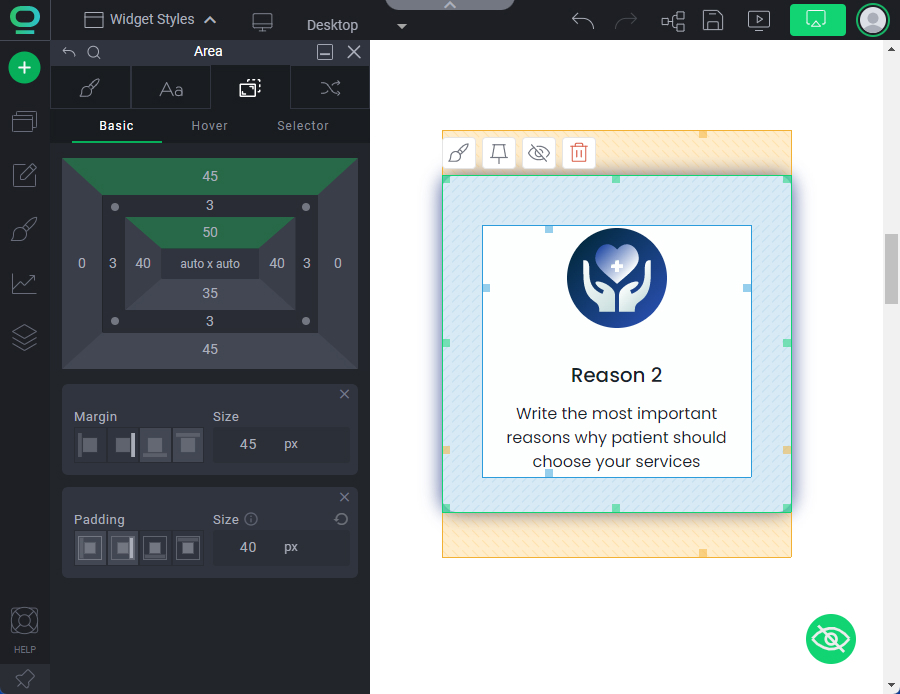
Widget graph - box model

Size
Width
Choose the width of the element
Width Min-Max
Select the minimum and maximum width of the element that the given element will take depending on the screen resolution
Height
Choose the height of the element
Height Min-Max
Choose the minimum and maximum height of the element that the element will take depending on the screen resolution
Size adjustment
Applies different presets to the width and height of the element to adjust its size to the size of the website or container
Box sizing
Determines how the total width and height of an element are calculated, including or excluding the padding and border
All-In-One Settings
All-In-One Settings is a shortened version of the Size and Position tab, which will allow you to quickly edit the most important settings for the element's position.
Border setting
Choose which side border you are editing
Width
Border width
Width Border color
The color of the border
Width Border Style
Border style
APPLY TO ALL SIDES
Apply border styles to each side
Padding setting
Choose which side padding you are editing
Padding Size
Choose the size of the padding
APPLY TO ALL SIDES
Apply the padding size to all sides
Margin setting
Choose which side margin you are editing
Margin Size
Choose the margin size
APPLY TO ALL SIDES
Apply a margin size on each side
Display
Display properties
Specifies how to display the elements
Vertical align
Controls how elements set next to each other on a line are lined up
Overflow X
Sets the horizontal overflow behavior of an element
Overflow Y
Sets the vertical overflow behavior of an element
Position tab
Position properties
Controls how elements on a page are set up and their relationship to others
Z-index
Specifies the stack order of elements
Float
Places an element on the left or right side of its container
Clear
Sets whether an element must be moved below floating elements that precede it
Animations tab
The animations tab allows you to choose at what point the element animation will be displayed for the visitor of your website. You can choose:
- On entry - the animation will be displayed immediately after entering the website
- On hover - the animation will be displayed when you hover the cursor over the element
- To exit - the animation will be displayed before closing the page
Then you can choose the specific type of animation you want to apply to the element.


