How to add custom fonts to your project?
Although we provide a wide variety of professional and elegant fonts inside the creator, we also understand they might not fit your vision. This is why we give you the ability to upload your own fonts that might have caught your eye!
How to add a custom font?
Download the font file to your computer and place the folder with fonts in easy to access location.
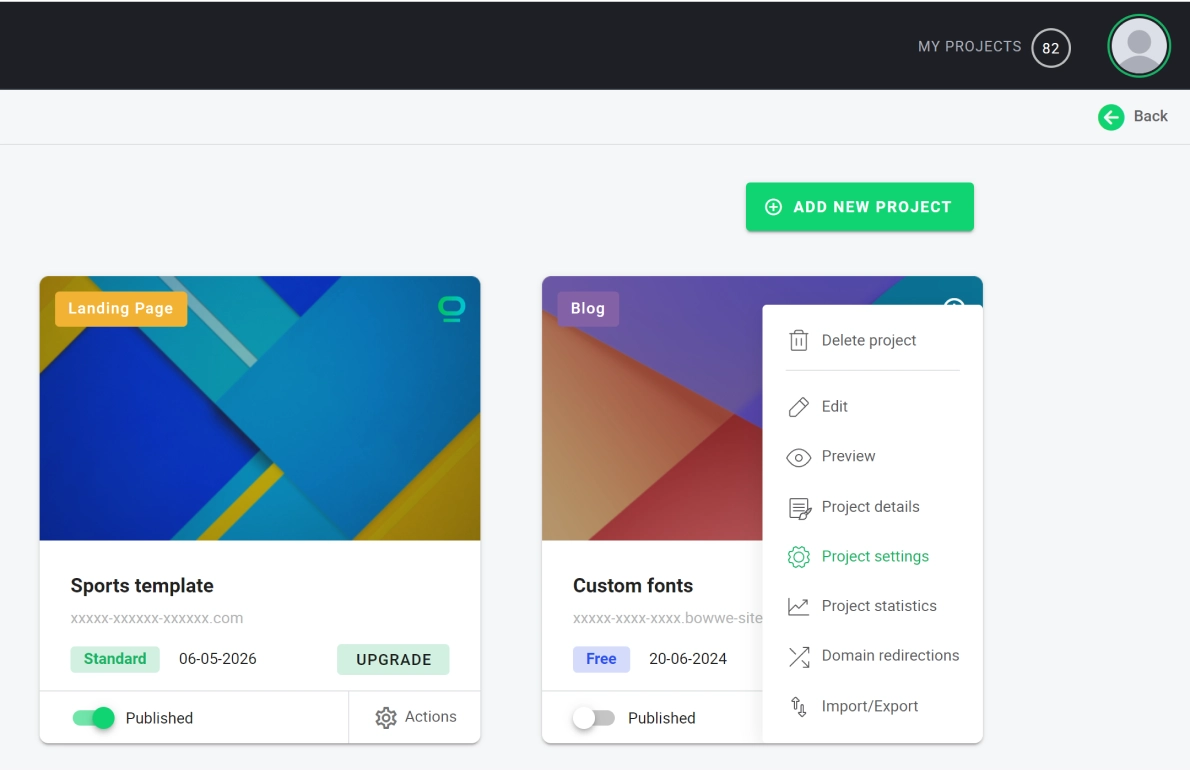
Open Fonts Tab.
Locate Your Custom Fonts window.
Click the “Click to Upload” button (for this tutorial we have chosen GetVolP Grotesque).
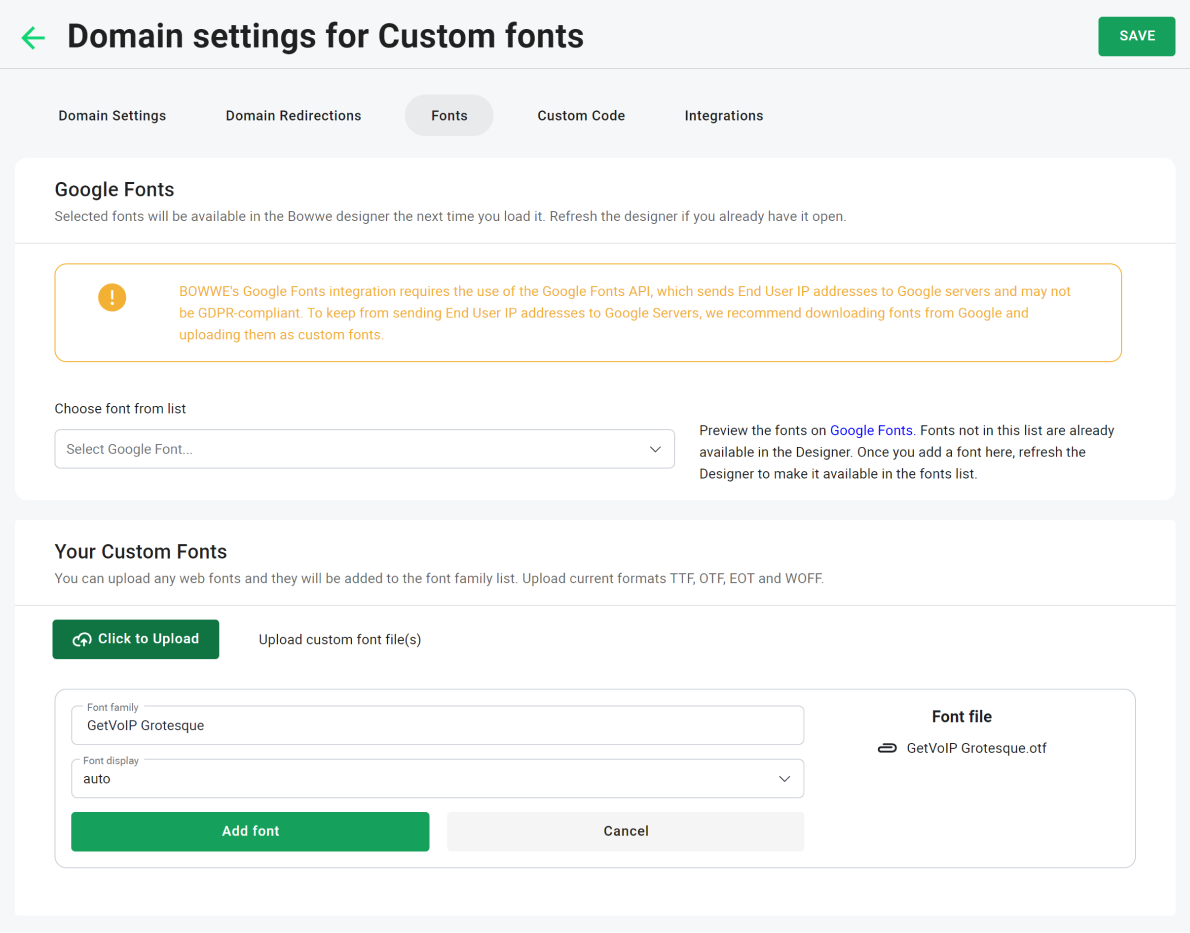
Select the downloaded font and upload the files from your computer. The accepted files are “TTF”, “OTF”, “EOT” and “WOFF”.
How to apply a new font in your project?
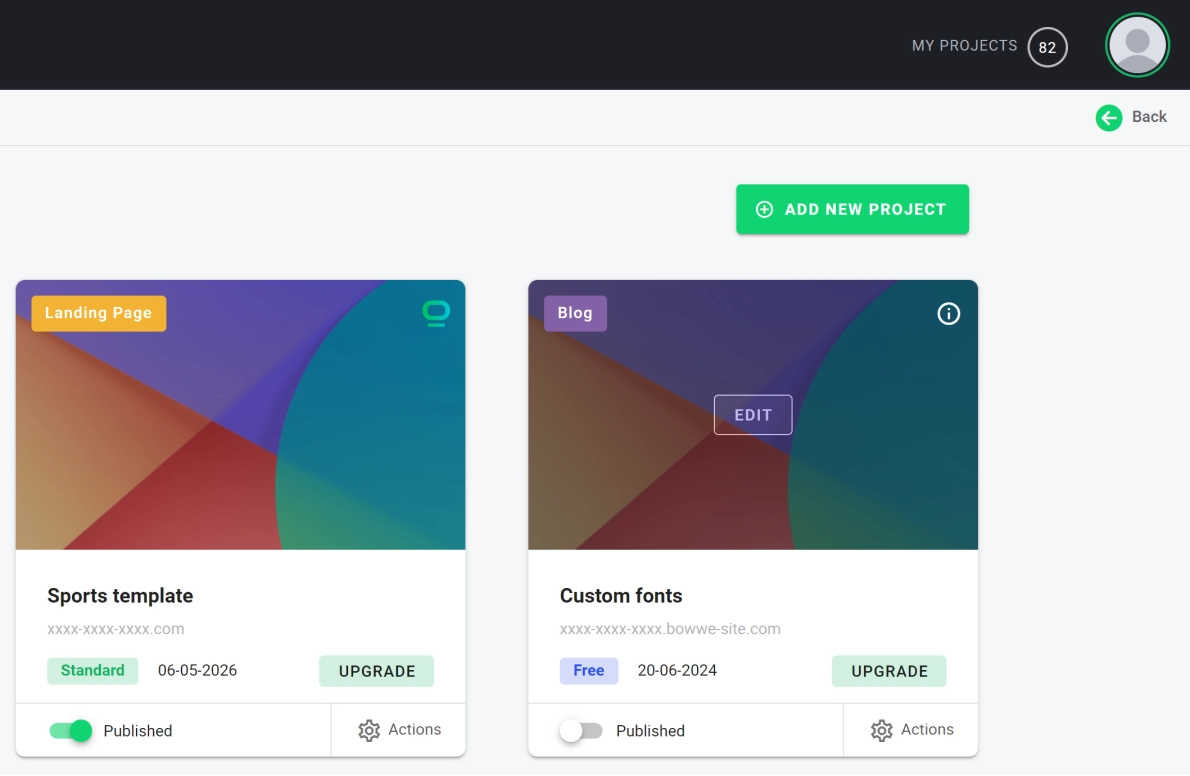
Open BOWWE and go to your dashboard.
Go to your project.
Select a text you want to change the font of and pick styles editor.
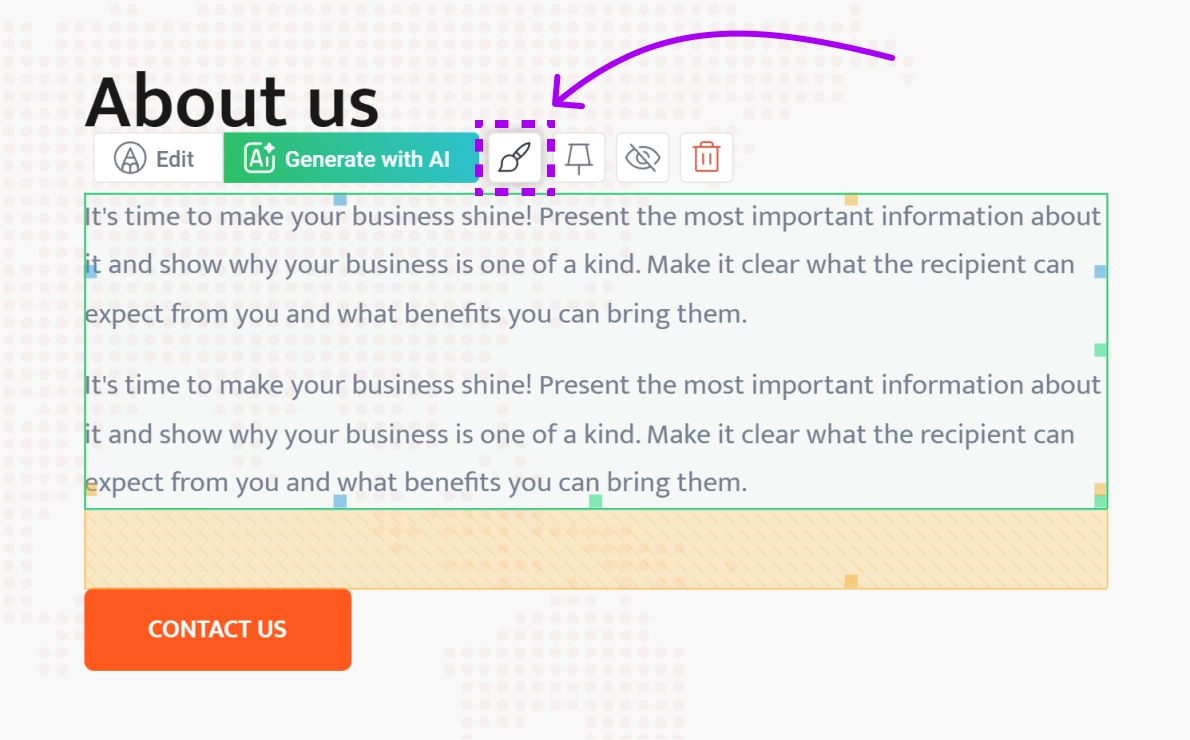
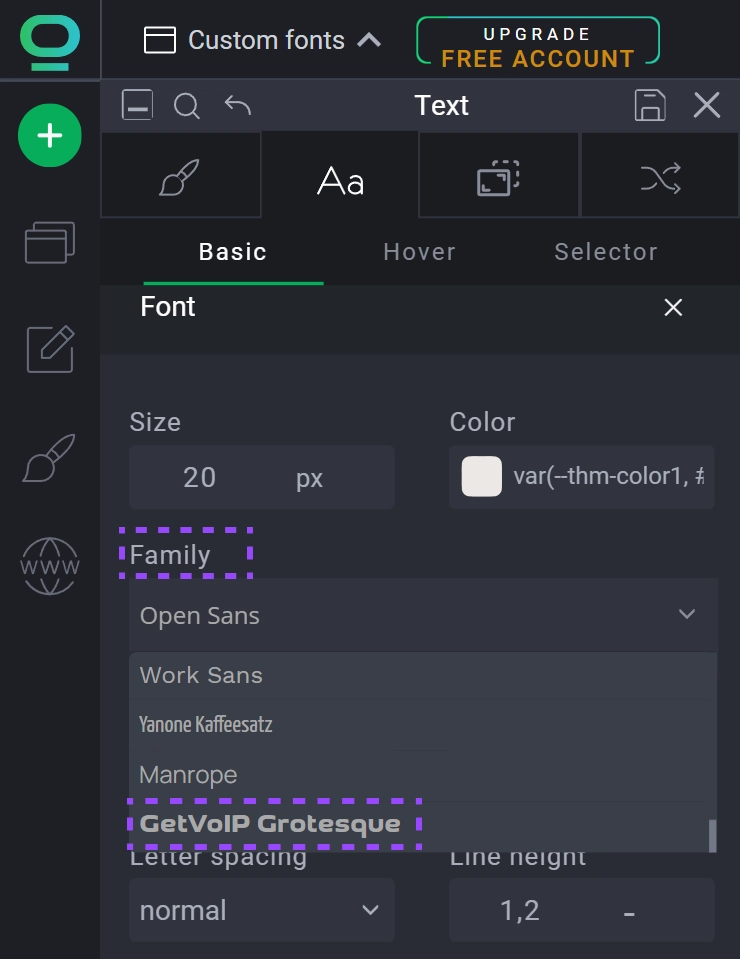
Select font tab.
Select the dropdown menu under Family and pick uploaded font from the bottom of the list (if the font doesn’t appear this may be fixed by refreshing the project page).
