Advanced Guide: Selectors, classes, and how to use them
Everything in the BOWWE Builder is editable, but sometimes you need to check under the hood to make some additional adjustments. This feature is aimed at more advanced users with some knowledge of CSS and HTML.
What is a selector
Selectors are targetable parameters of HTML code that we can use to access hidden elements or to broaden the spectrum of widgets affected by your changes. By addressing a specific attribute or series of attributes you can get access to hidden elements, create new ones, or invoke multiple elements at the same time granted the selector applies to all of those elements.
We can create our selector with certain elements, most notably classes. Selectors can also include IDs, HTML elements, HTML attributes, pseudo-classes, and pseudo-elements. Combining this with CSS Combinators we can create specialized selectors ranging from wide to extremely specific.
Selector
Example
Description
.class
.name
Select all elements with class=”name”
.class1.class2
.name1.name2
Select all elements containing both .name1 and name2 within their class attribute
.class1 .class2
.name1 .name2
Select all elements with class attribute “name2” that lay inside all elements with
#id
#1234567890
Select the element with a unique identification number
*
.name1 *
Select all elements within element with class “.name1”
element
div
Select all <div> elements
element.class
div.name1
Select all divs with class name1
element element
div p
Select all p elements inside all div elements
class1,class2
.name1,.name2
Select all elements with class name1 and all elements with class name2
class1 > class2
.name1 > .name2
Select all name2 elements that are direct descendants of all name1 elements
class1+class2
.name1+.name2
Select the first name2 element that is placed immediately after name1 element
class1~class2
.name1~.name2
Select every name2 element preceded by name1 elements
[attribute]
[target]
Select all elements with a target attribute
[attribute=value]
a[href=”bowwe.com”]
Select all links containing “bowwe.com” address
:hover
name1:hover
Select all name1 elements that are hovered over by a mouse cursor
:first-child
li:first-child
Select the first child of its parent among other siblings
:nth-child()
p:nth-child(2)
Select any <p> element that is a second child of its parent
::before
.name1::before
Select a pseudo-element of elements with class name1
Advanced guide: Pseudo-elements
How to use a class
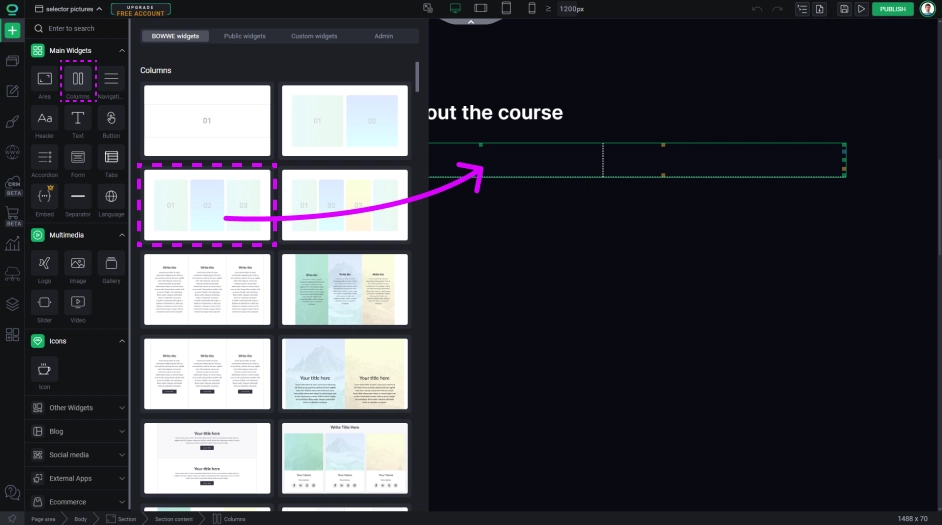
Drop them to your project.


You can always come back to the created class and edit styles inside, both existing and new ones. To do this you need to go back to the selector tab and select from the list or write it down again.
Note that the selected widget will display in first order all the classes it has and after that the rest, so choosing the widget with desired class to edit will display that class at the beginning of the selector list.
Using classes can greatly improve your website building time as well as your maintenance time. The biggest improvement however can be seen in the website positioning and overall SEO, placing your page higher in the ratings thanks to the clearer CSS file.
There are many more ways to use classes and selectors, such as adding decorations using pseudo-elements but everything is based on HTML and CSS rules and is compatible with selector web rules.


