How to apply an image layer mask?
Transform your website's visual appeal with the magic of image layer masks using our easy-to-follow tutorial! In this comprehensive guide, we'll walk you through the process of seamlessly adding image layer masks in your favorite no-code website builder, empowering you to create stunning, professional-grade designs without any coding expertise.
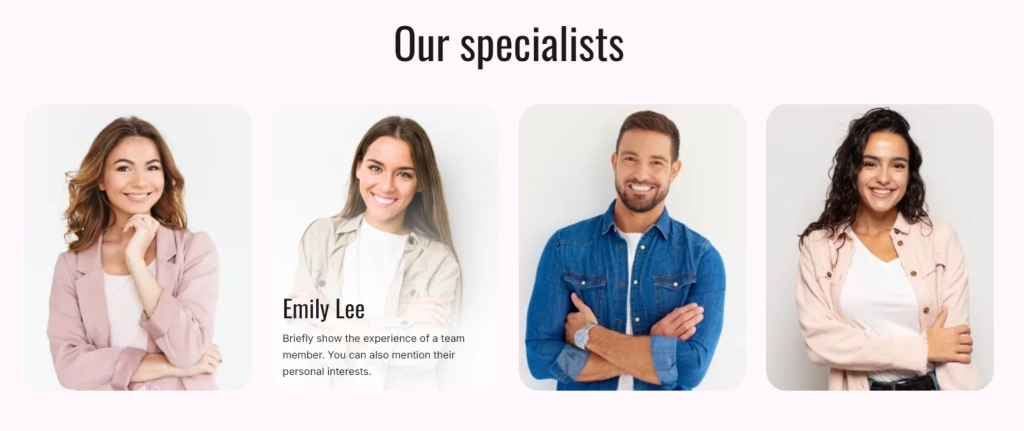
What image mask can look like on your website?
The image layer mask is an additional container located within the constraints of the image itself. Its main function is to provide the user with a stylable canvas to make placing elements with pictures easier.
The most common usage for the mask is making it slightly darker with a semi-transparent color and providing texts with a Call To Action, like in the case of an opening banner.

Another common application for the image mask is to have its content hidden by default only to reveal it with the mouse hover. This little animation can greatly improve User Expierience on your website.

How to create image mask in BOWWE?
Open your project in BOWWE
How to add an image
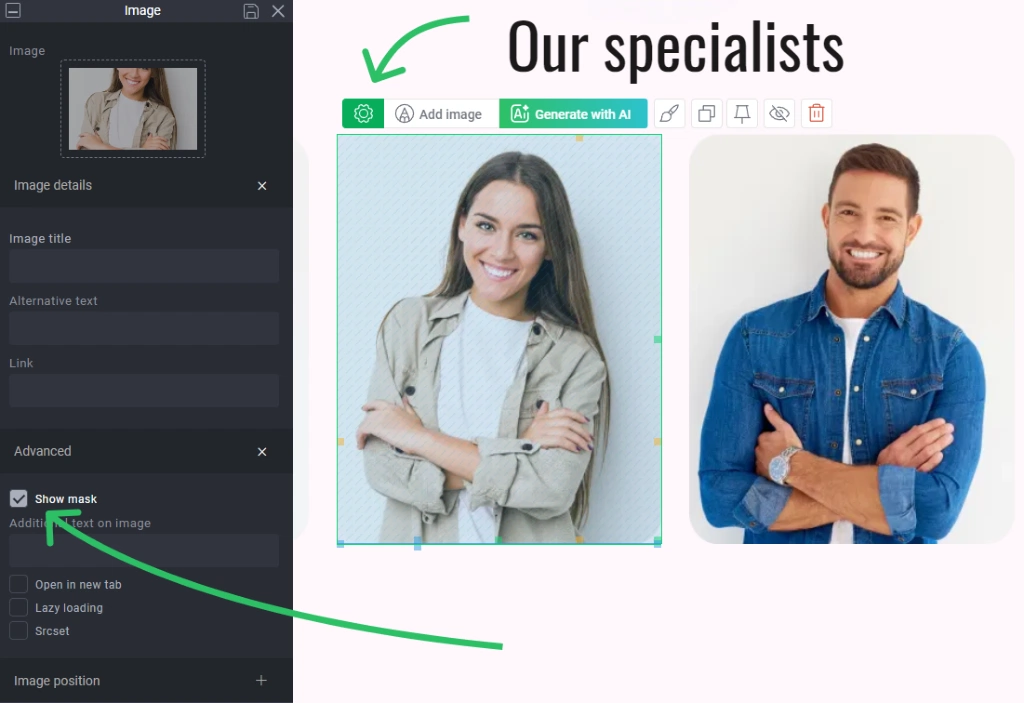
Go to the Image Widget Settings

Click on the Show mask checkbox. A new layer called Image container will appear on your website. It will allow you to add new widgets on top of your image and give you a wide range of customization options in Widget Styles.
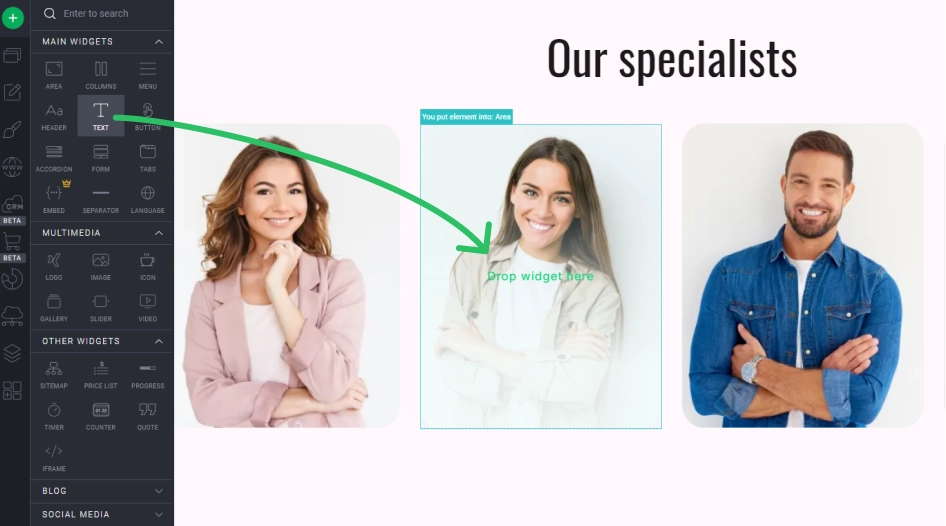
Go back to the Creator in the left side panel and choose among available widgets what you want to add to the image mask. Once you’ve chosen the widget, drag & drop it in the image container that appeared after creating a mask

Adjust the widget with Widget Styles
SAVE and PUBLISH to complete


